Milk Peda Recipe | How to make Instant Doodh Peda | Khoya Peda Recipe | Instant Mawa Peda
Easy Instant version of milk peda using store bought mawa. Traditional Doodh Peda is made by condensing full fat milk to solids and then its shaped whereas instant peda is made using readymade hard khoa that is easily available in markets.
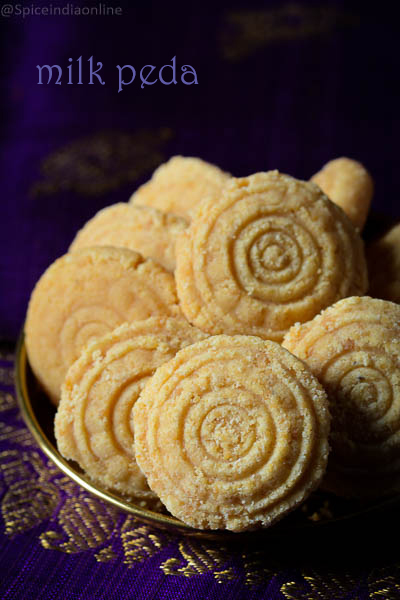
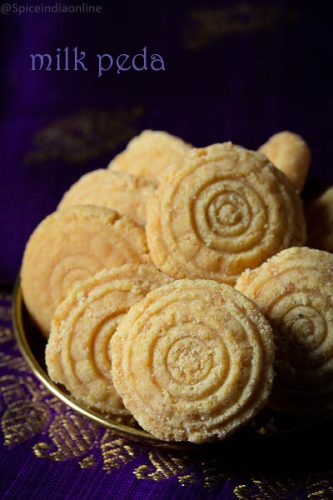
Milk Peda | Doodh Peda
Ingredients
- 1& 1/4 cup Khoya grated milk solids *Read notes
- 1/2 cup Sugar
- 2 each Cardamom powdered (optional)
- 2 drops Rose water optional
- 1 teaspoon Ghee
- 2 teaspoon Milk
Instructions
- This is an instant version... busy moms, working people can use store bought khoya (have to compromise a bit on taste due to time constraints)
and rest who have ample time please try making khoya from scratch... it really makes a difference. Learn how to make
Khoya
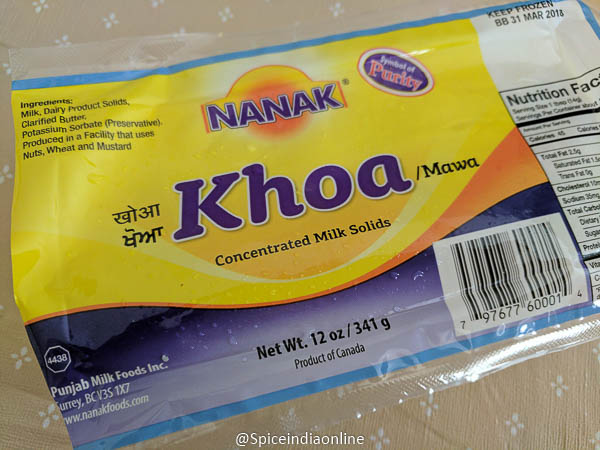
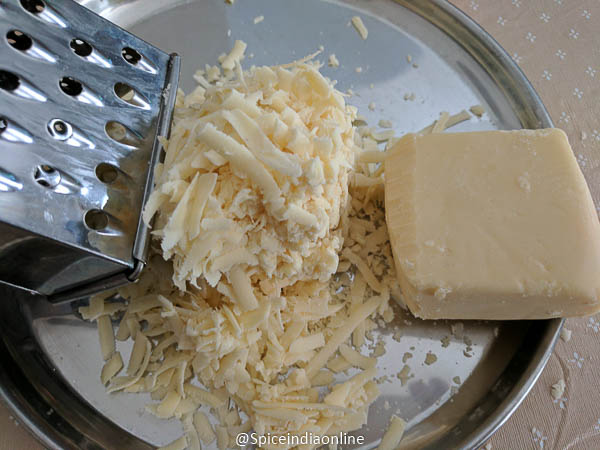
- This is how your store bought khoya looks... grab a pack, its about roughly 340 grams and I used half of it. Grate as it might be real hard coming from the freezer aisle. I came about 1 cup and 1/4 cup roughly.
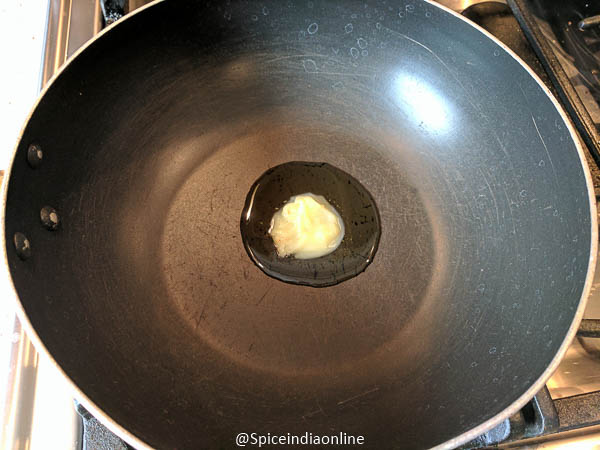
- Heat a Kadai with 1 teaspoon ghee.
- Lightly roast the khoya in that ghee for few minutes till lightly brown. Store bought khoya will be very hard and needs little pampering... also frying the mava helps to extend shelf life of the sweet. (You don't need this step if you wish to finish it off soon)
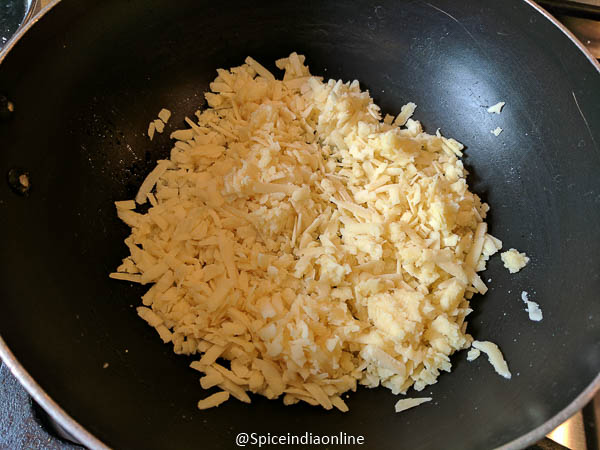
- They may become a little crumbly once you start to fry the khoya.
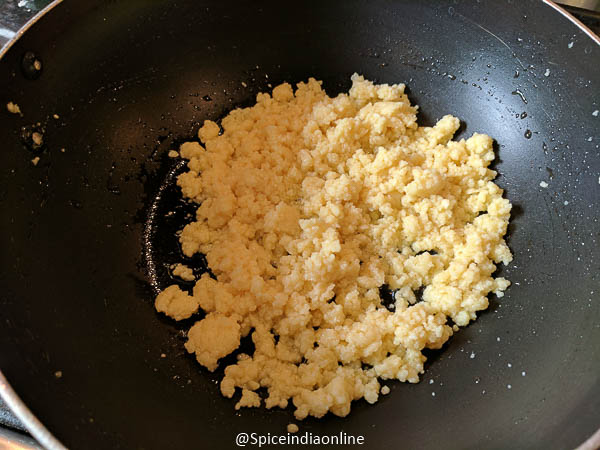
- At this stage add sugar, cardamom powder and few drops of rose water. (Adding rose water or cardamom powder is optional you may add both or skip or add any one)
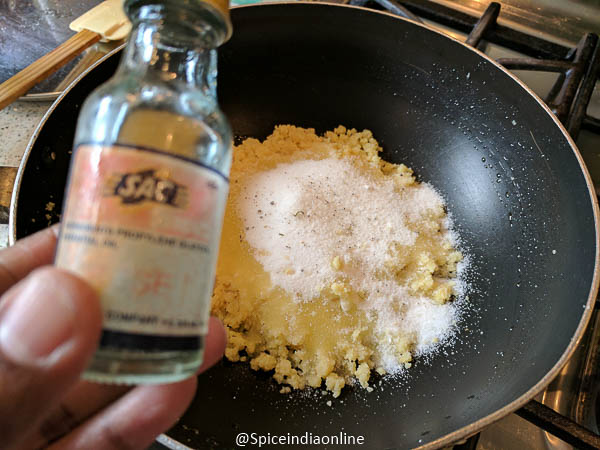
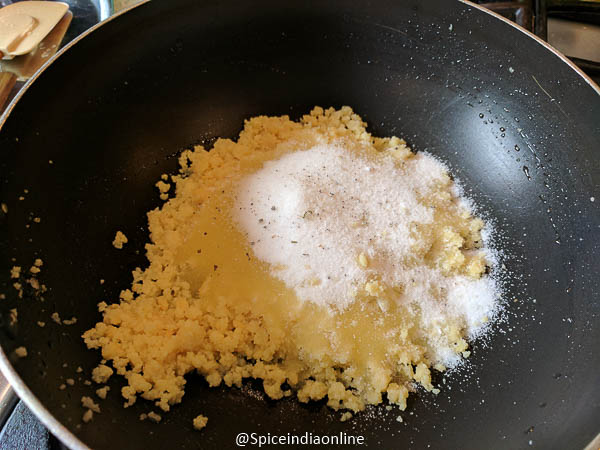
- After adding sugar, add few teaspoons of milk just to melt it. Keep the flame at medium low all the time.
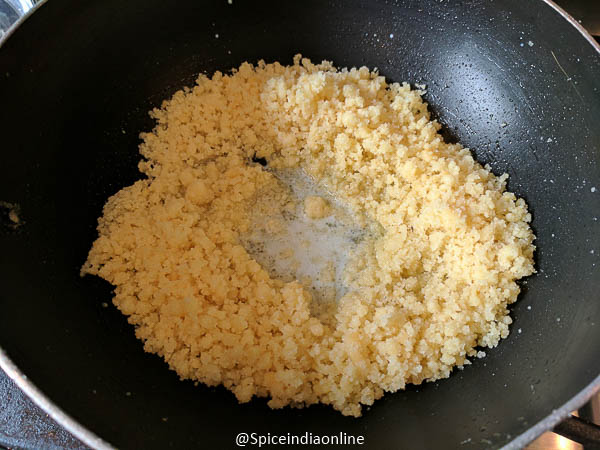
- Khoya, milk, sugar will all blend well and look like this.
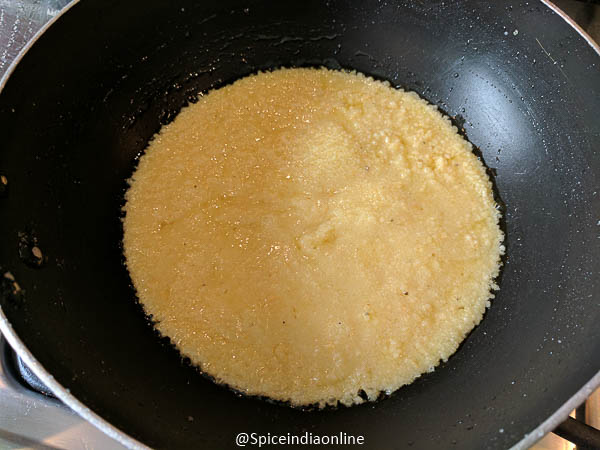
- Keep stirring until it turns into a thick mass and leaves the sides. Switch off at this stage.
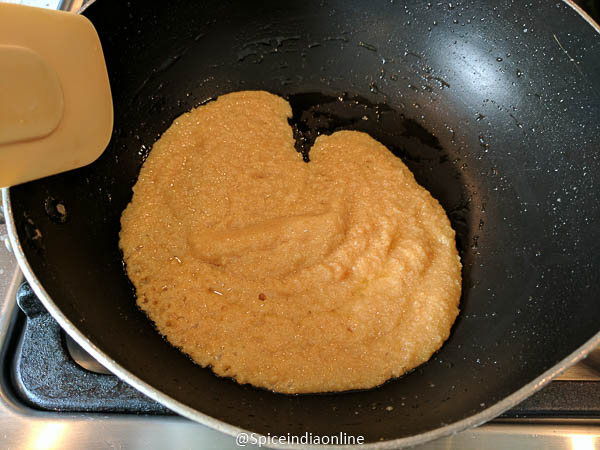
- Transfer to a plate and let cool a bit. It will firm up slowly as it cools... try to roll and knead a bit. Use a spatula if its warm.
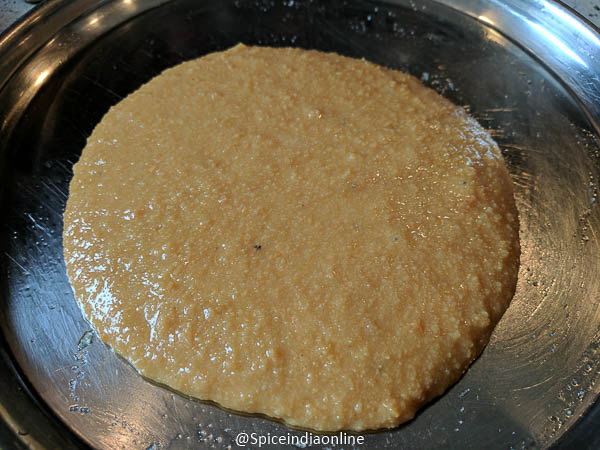
- Once it firms up a bit, take a small portion and roll into balls and press. Peda ready! If you wann a little decoration then proceed to the next step.
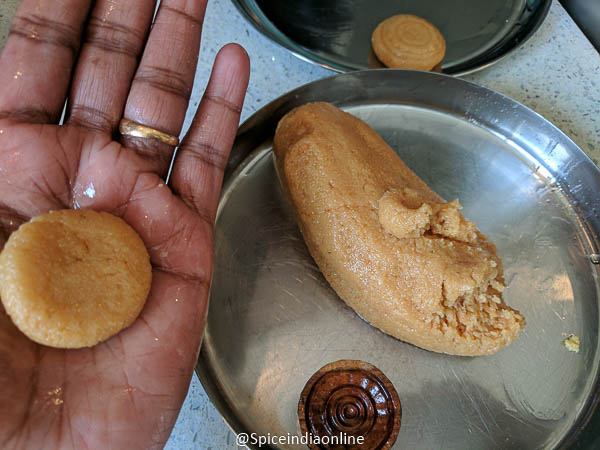
- I got these tiny moulds during my last India trip (Thank you appa for shopping this for me
)and decided to give it a try. Apply a little ghee to moulds as shown.
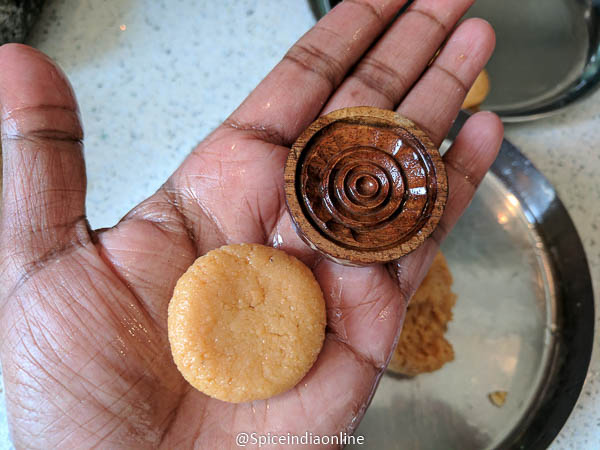
- Press them on top of the peda dough to make an impression of the pattern.
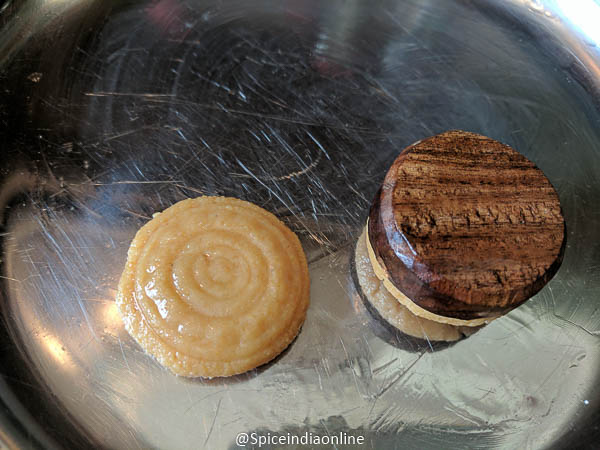
- I gave them life... & they all looked cute!
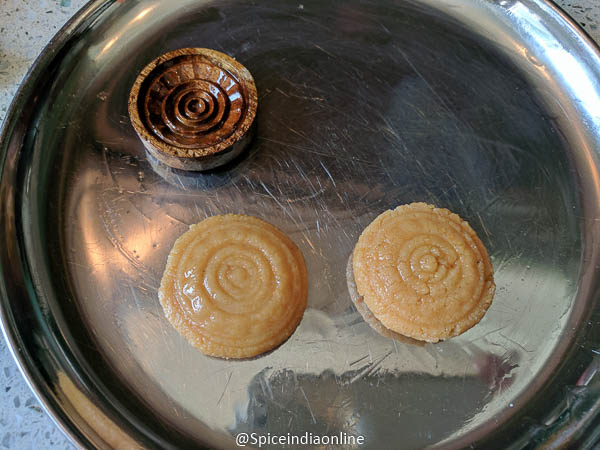
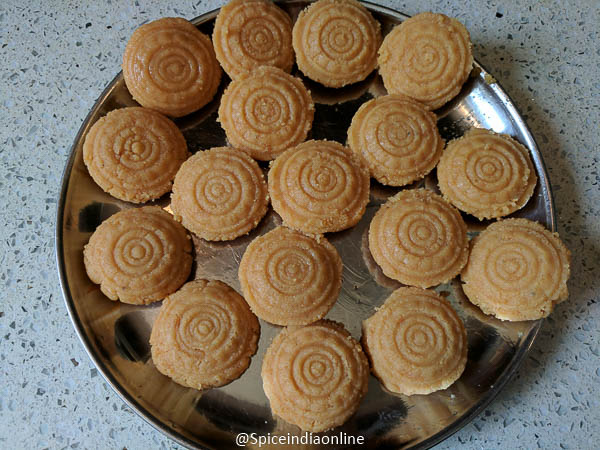
- Let cool and store in air tight container for few days. Refrigeration may extend shelf life for few more days.
Notes
You may use store bought khoya or homemade. Homemade khoya will definitely taste better...

Store bought milk solids may be light... so use about 1 & 1/4 cup grated. If using homemade thick khoya then use about 1 cup.
Adding cardamom powder or rose water is all optional.
Some easy sweets to try…
Lets see how to make this Milk peda
1.This is an instant version… busy moms, working people can use store bought khoya (have to compromise a bit on taste due to time constraints) 

2. This is how your store bought khoya looks… grab a pack, its about roughly 340 grams and I used half of it.
3. Grate as it might be real hard coming from the freezer aisle. I came about 1 cup and 1/4 cup roughly.
4. Heat a Kadai with 1 teaspoon ghee.
5. Lightly roast the khoya in that ghee for few minutes till lightly brown. Store bought khoya will be very hard and needs little pampering… also frying the mawa helps to extend shelf life of the sweet. (You don’t need this step if you wish to finish it off soon)
6. They may become a little crumbly once you start to fry the khoya.
7. At this stage add sugar, cardamom powder and few drops of rose water. (Adding rose water or cardamom powder is optional you may add both or skip or add any one)
8. After adding sugar, add few teaspoons of milk just to melt it. Keep the flame at medium low all the time.
9. Khoya, milk, sugar will all blend well and look like this.
10. Keep stirring until it turns into a thick mass and leaves the sides. Switch off at this stage.
11. Transfer to a plate and let cool a bit. It will firm up slowly as it cools… try to roll and knead a bit. Use a spatula if its warm.
12. Once it firms up a bit, take a small portion and roll into balls and press. Peda ready! If you wanna little decoration then proceed to the next step.
13. I got these tiny moulds during my last India trip (Thank you Appa for shopping this for me 
14. Press them on top of the peda dough to make an impression of the pattern.
15. Gave them life… & they all looked cute! Let cool and store in air tight container for few days. Refrigeration may extend shelf life for few more days.
Notes
- Makes 15 (2 inch) pieces
- You may use store bought khoya or homemade. Homemade khoya will definitely taste better…
- Store bought milk solids may be light… so use about 1 & 1/4 cup grated. If using homemade thick khoya then use about 1 cup.
- Adding cardamom powder or rose water is all optional.
2 Comments
Your milk pedas look beautiful Do you mind telling me the name of these tiny molds? I will really appreciate it.
Hey dear thanks… these are called peda moulds and i got them from India. You can also get similar ones from Amazon… do a search for maamoul mould press, it comes in wood and plastic. Thanks you visiting my space!